Last updated November 21, 2026
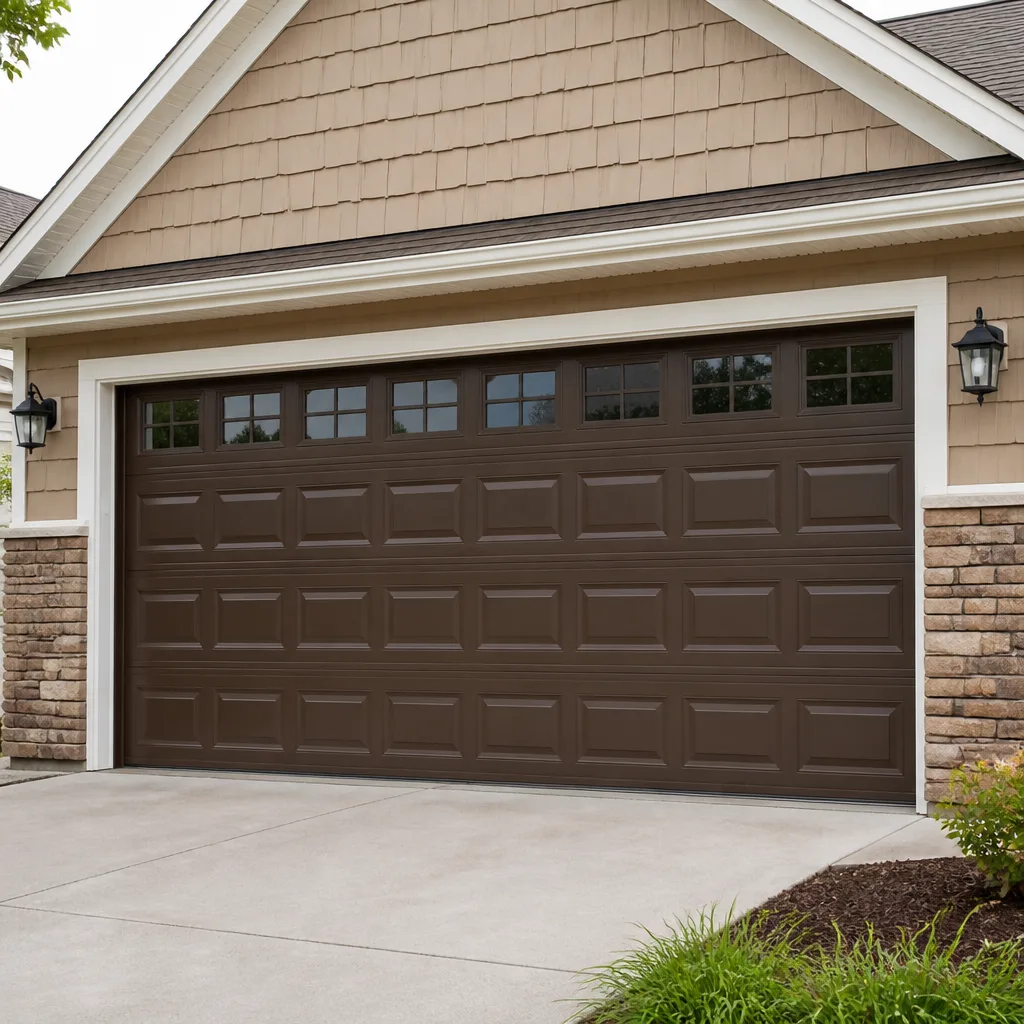 Raised-panel steel
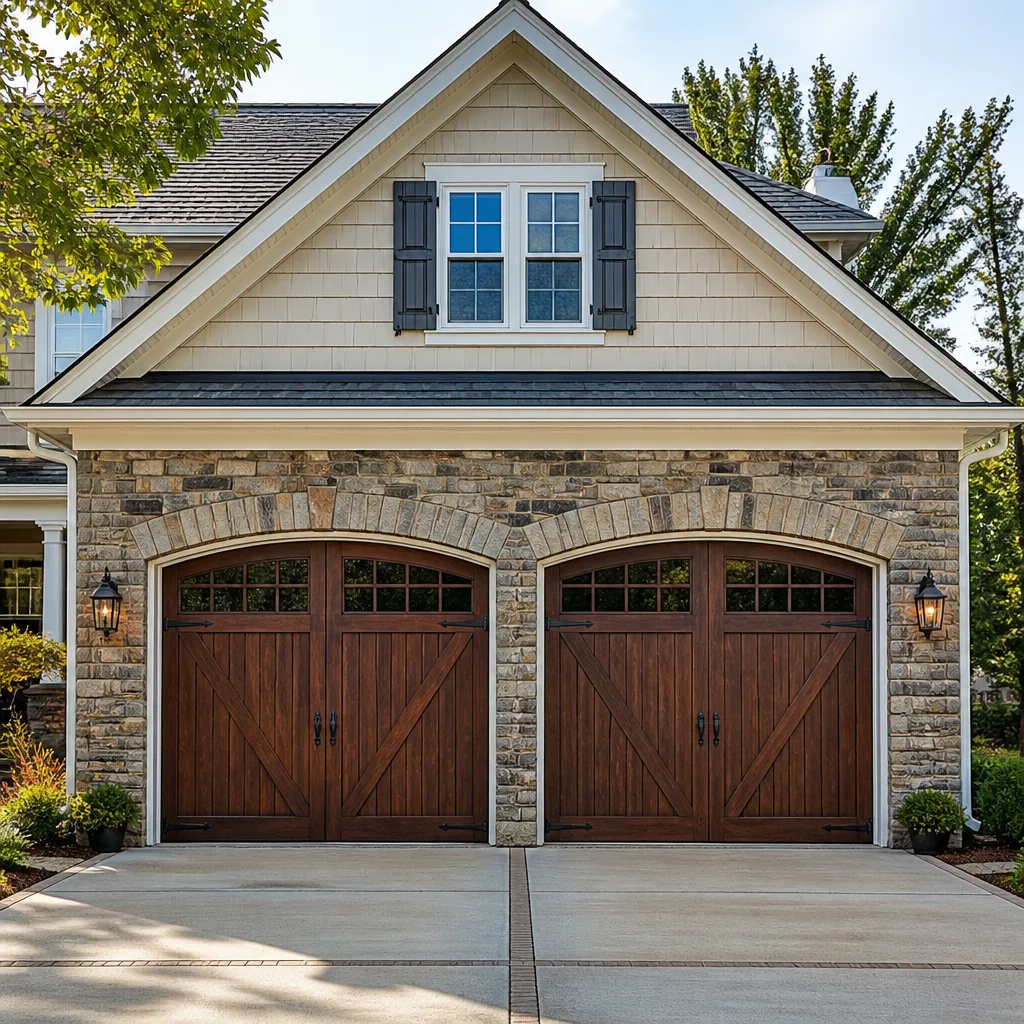 Carriage house
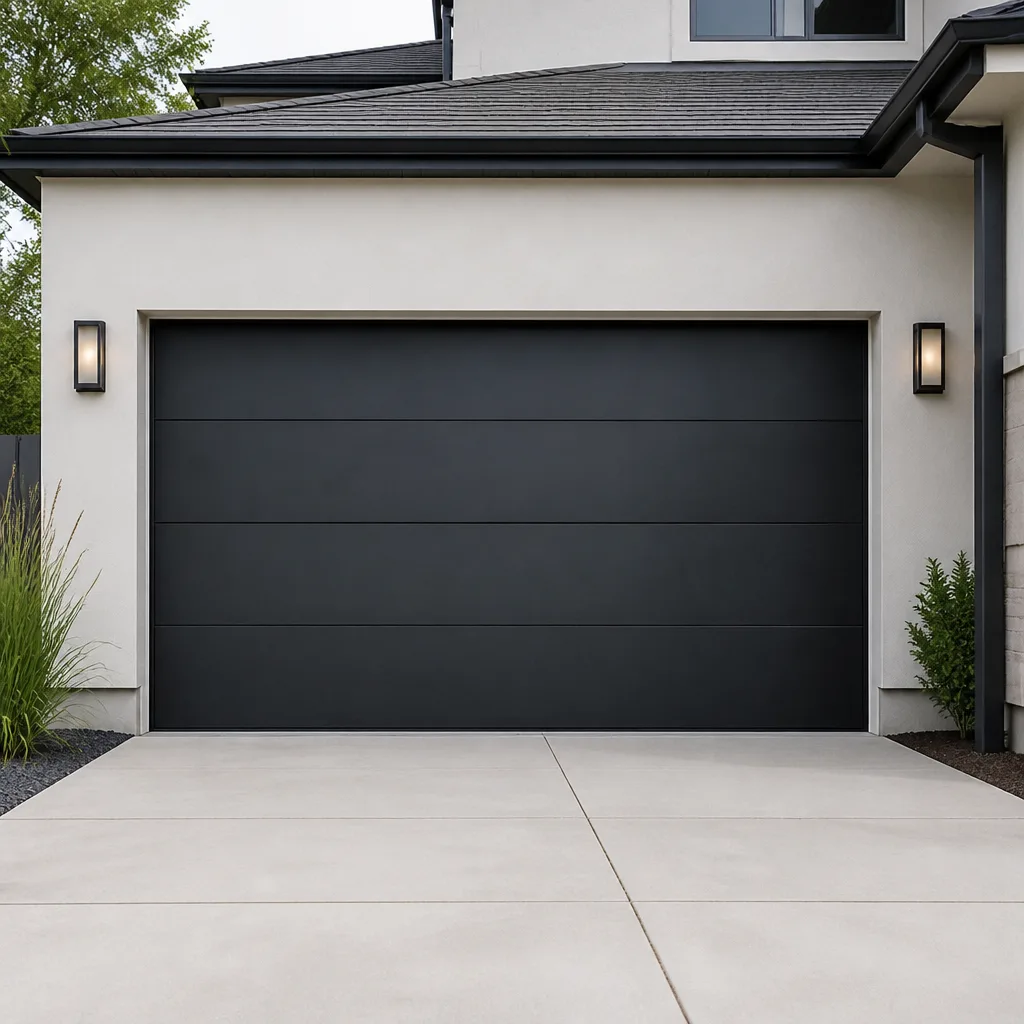 Modern flush
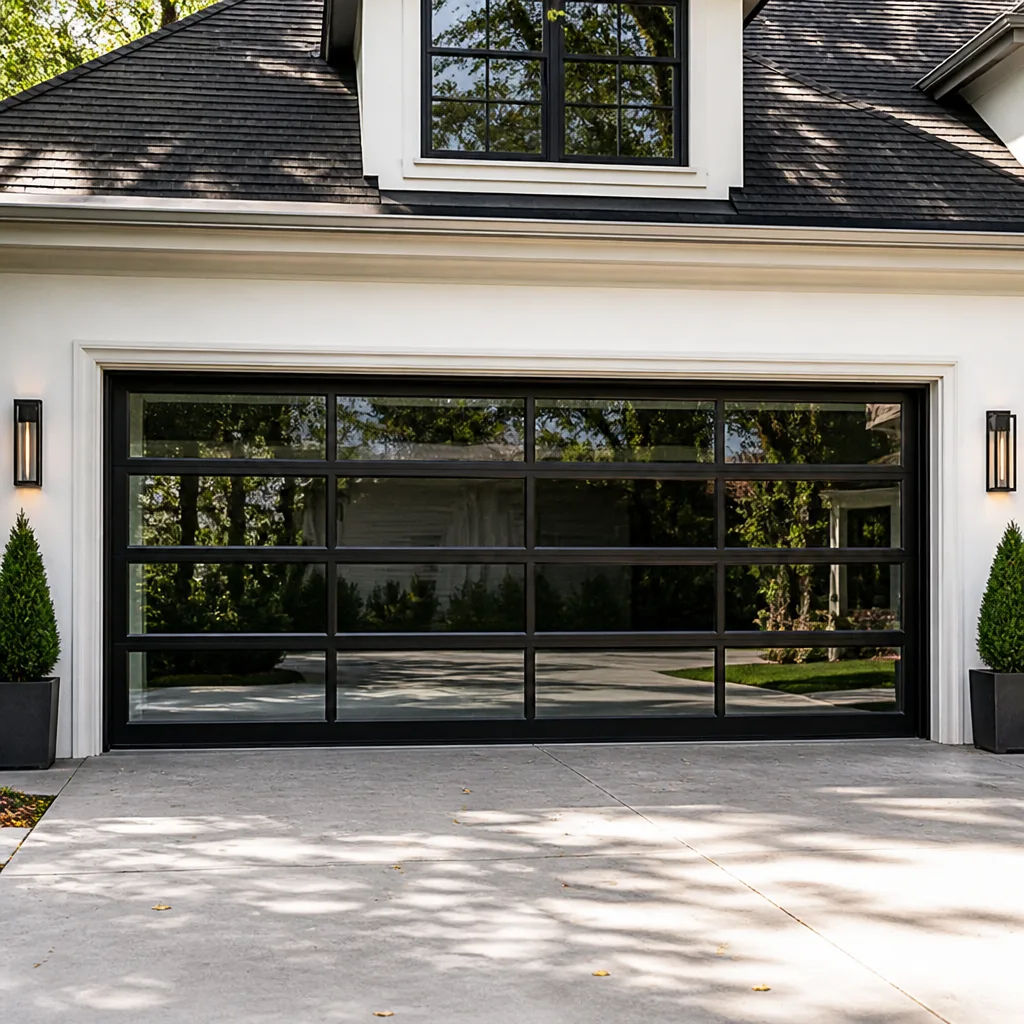 Full-view glass
 LiftMaster openers
 Chamberlain openers
Full 25-point door and opener safety check with every visit - springs, cables, rollers, tracks, and your LiftMaster or Chamberlain opener included
You get a price before we start. It does not change when the pro arrives.
Get your free estimateGarage Door Repair Maintenance Checklist for Hyde Park Homeowners
Lubricating the wrong part of a garage door system can wear it out faster than doing nothing at all. Spray a track with a wet lubricant and grit sticks to it, the rollers skid instead of roll, and the opener starts working harder every time you press the button. Most checklists skip that detail and hand you ten generic steps that read like advice for servicing a car. What actually keeps a door running in Hyde Park is knowing which parts you can safely look at, which parts you can safely touch, and which parts belong to a trained technician. This guide sorts the whole job by risk level. You’ll get the exact lubricants to use where, the balance test done correctly, the seasonal triggers that matter in this climate, and the red flags that turn a maintenance visit into a same-day call.
Quick Answer
A garage door maintenance checklist for Hyde Park homeowners should cover five do-it-yourself items and three that require a professional. You can safely lubricate rollers, hinges, and the torsion bar bearing plates, inspect the weather seal and bottom seal, tighten exposed bolts on the track brackets, test the door balance, and clean the photo-eye lenses. Spring tension, cable condition, and opener limit adjustments need a trained technician. A full inspection takes about 20 minutes on your own and catches most issues before they become a breakdown.
Styles & brands we work with
- Raised-panel steel
- Carriage house
- Modern flush
- Full-view glass
- LiftMaster openers
- Chamberlain openers
Table of Contents
- Why a Risk-Tiered Checklist Beats a Generic One
- What You Can Safely Check and Do Yourself
- The Right Lubricant for Every Part (and Why WD-40 Isn’t It)
- How to Perform the Door Balance Test Correctly
- Hyde Park Seasonal Triggers: When to Add an Off-Schedule Check
- What Only a Technician Should Touch
- Red Flags That Turn Maintenance Into an Emergency
- How Often to Run the Full Checklist
Why a Risk-Tiered Checklist Beats a Generic One
A garage door is the heaviest moving assembly in most homes. A single-car door weighs somewhere in the range of 130 to 200 pounds; a double door runs heavier still. That weight hangs on springs under high tension, travels on cables, and rides on rollers that stay quiet right up until they don’t. The systems that fail quietly and the systems that fail without warning are not the same thing, and that’s the reason a frequency-based checklist misses the point.
Do the same task every three months regardless of risk, and you spend the same effort on a cosmetic squeak as on a cable that’s one strand away from letting go. Risk-tiered maintenance means you separate the list into three buckets:
- Tier 1 – Visual and low-touch. Look, listen, wipe, and lubricate. No tools beyond a wrench and a rag. Safe for anyone.
- Tier 2 – Mechanical but bounded. The balance test, tightening exposed track bolts, adjusting the travel limits only if you understand the mechanism. Safe with attention and a manual.
- Tier 3 – High-tension and load-bearing. Springs, cables, drums, and the bottom bracket. This is the tier where a mistake can break a bone or worse.
In Hyde Park, most of the housing stock is older, and plenty of doors have been serviced by three different people over the years. We’ve seen doors in Readville and on the Fairmount Hill side of the neighborhood with mismatched roller sizes and hinges swapped end-to-end because someone worked from memory instead of a parts sheet. A tiered checklist catches that kind of drift before the opener does. Knowing the system’s brand helps too, which is why matching your door to what’s on it (Raynor, LiftMaster, Chamberlain, Genie, Clopay) makes parts and adjustments go smoother.
What You Can Safely Check and Do Yourself
Roughly 80 percent of routine garage door upkeep is inspection, and inspection costs nothing but attention. Here’s the do-it-yourself layer, in the order that makes sense to work through:
- Look at the door from the street. Step back and check the panels for a consistent gap at the floor. A widening gap on one side points to a track or hinge problem.
- Listen on the way up and down. A steady hum is normal; a rhythmic clunk or a squeal that changes pitch is not.
- Inspect the rollers. Nylon rollers should show no flat spots or cracks. Steel rollers should spin freely by hand, not drag.
- Check the hinges and the track brackets. Loose hinge screws are common and safe to tighten. Do not loosen or remove the bracket that holds the spring or the cable.
- Wipe the photo-eye lenses. Two small lenses sit six inches above the floor on either side of the opening. A dusty lens that can’t see across the gap will cause phantom reversals.
- Test the safety reverse. Lay a small object in the path of a closing door and confirm the door reverses. This is the single most important safety check on your list.
- Oil the moving metal contact points. Rollers, hinges, the torsion spring bar (not the coil) and the bearing plates. Details on this are below.
What we’ve found in Hyde Park is that the visual pass catches more than the mechanical pass. A homeowner who walks around the door once a month with a phone flashlight will spot a bent track, a fraying paint line where metal is flexing, or a sagging bottom seal long before any of it turns into a breakdown.
The Right Lubricant for Every Part (and Why WD-40 Isn’t It)
WD-40, the original spray, is a solvent and light oil, not a lubricant built for load-bearing metal. It dissolves rust, displaces moisture, and evaporates within days. Use it on a roller and you get a temporary quiet followed by more wear than before, because the solvent strips whatever factory grease was on the part and leaves almost nothing behind. In a Hyde Park winter, that stripped roller becomes the first thing to seize.
Here’s the component-by-component breakdown:
- Rollers: A white lithium grease or a silicone-based spray. Keep it on the roller stem, not on the nylon or steel wheel face.
- Hinges: White lithium grease in the pivot points. Wipe the excess; a hinge that’s over-greased attracts grit.
- Torsion spring: Coat the coil lightly with a spray lubricant made for springs. It slows rust and slightly reduces the friction between coils. Do not touch the spring with your hands or attempt to adjust tension.
- Torsion bar and bearing plates: A few drops of light machine oil or a silicone spray where the bar passes through the plates.
- Track: None. Tracks should never be lubricated. Grease on a track picks up grit and turns the whole rail into a grinding paste. Wipe them clean and leave them dry.
- Weather stripping and bottom seal: A silicone spray or a rubber conditioner. This keeps the rubber flexible through the freeze-thaw season and stops it from cracking.
- Opener chain or belt: Follow the manufacturer’s manual. Chamberlain and LiftMaster chain units usually want a light application of chain lube, while belt units want nothing.
The trap most homeowners fall into is treating the garage door like a bicycle: one can of spray oil, applied everywhere. If you only remember one rule from this guide, make it this one. Lubricate the moving metal contacts and the spring coil, keep the tracks dry, and put the WD-40 back in the drawer.
How to Perform the Door Balance Test Correctly
The balance test measures whether the springs are doing the work they’re supposed to. A door in balance needs almost no effort to lift and comes to rest without drifting. A door out of balance means the springs are either sagging or over-tightened, and an over-tightened or failing spring is a live safety issue.
Here’s how to do it correctly:
- Disconnect the opener. Pull the red emergency release handle hanging from the trolley. The door is now manual.
- Close the door fully. Confirm the door is seated at the floor and the spring is not under tension at rest.
- Lift the door about halfway. Use your hand under the bottom panel, not the hinges.
- Let go. Release the door at roughly waist height and step back.
- Observe. The door should stay put. If it slams down, the springs are weak. If it drifts up on its own, the springs are over-tensioned.
- Reconnect the opener. Pull the trolley back toward the opener until it clicks and re-engages, or cycle the door once.
An off-balance result means one of two things mechanically: the springs have lost tension (normal wear over years of cycles), or the door has gained weight (a bent track, a swollen panel, wet wood below). A door that sags downward is failing safe by giving up. A door that rises on its own is the more dangerous result, because it means the spring is carrying more stored energy than it should. Both outcomes are a call to a technician, not a weekend project. Do not attempt to adjust torsion springs yourself; that coil holds hundreds of pounds of force and is under load until it is unwound properly.
Hyde Park Seasonal Triggers: When to Add an Off-Schedule Check
Garage doors in Hyde Park live through real seasonal swings. The Neponset River valley, the breezes coming across from the Blue Hills, and the classic New England freeze-thaw cycle all put stress on the weather-tight parts of the door in a way that a mild climate doesn’t. In our experience, most of the calls that could have been prevented fall into a seasonal window.
Here are the triggers that warrant an extra check:
- First hard freeze: The bottom seal and weather stripping stiffen. Run your hand along the bottom of the door and look for a gap. A cracked seal lets snow and air into the garage and drives heating costs in the rooms above.
- Mid-winter thaw: Repeated freeze-thaw cycles along the floor of the opening can shift the concrete and pull the bottom bracket out of alignment. Check the door’s gap at the floor after each thaw.
- Spring rain: Damp air in the garage promotes rust on the spring coil and cables. This is when a light spring coating pays off.
- First sustained heat: Rubber seals dry and crack. Belt-driven openers can stretch slightly. Look for new gaps and listen for a belt starting to chatter.
- Fall leaf drop: Grit and leaf debris build up in the track, and lubricant you applied in summer catches it. Wipe tracks clean before the first freeze.
If you live on a street where a plow banks snow against the door (Fairmount Hill, for example, or any of the close-set streets off Hyde Park Avenue), check the bottom seal after every major storm. Ice trapped under the door is the most common cause of a stalled opener we see in Hyde Park during January.
What Only a Technician Should Touch
Some parts of a garage door are safe for homeowner inspection. Others are not safe to touch, full stop. Here are the components that belong to a trained technician, and the reason for each:
- Springs (both torsion and extension). A torsion spring on a residential door is wound with enough stored energy to launch a person across a garage. The task is not difficult and being foolhardy is not brave. A spring under load is not a part you adjust yourself.
- Cables. Cables run under tension from the bottom bracket to the drums. A frayed cable can snap with a recoil. If you see strands separating, the door is no longer safe to operate; call a technician and leave the door in the closed position.
- Bottom bracket. The bottom bracket holds the cable anchorage and travels under the same load as the cable. Do not unbolt it, do not adjust it, do not touch it.
- Opener limit and force settings. These are the adjustments that tell the opener how far to travel and how much force to apply. Set them wrong and the door can drive into the floor, damage panels, or fail the safety reverse test.
- Drum and winding shaft. Same reason as springs. High tension, high consequence.
- Track realignment that goes beyond a nudge. A track that has been driven into can usually be tapped back into square. A track that has been bent past that point needs a technician to check panel and hinge alignment afterward.
When a spring does let go in Hyde Park, the safest move is to stop operating the door and put in a call. We work on the brand you already have, including LiftMaster, Chamberlain, Genie, and Clopay, and our technicians have up to 12 years of experience. Springs are not a DIY job. We’d rather earn the call from a homeowner who knows their limits than hear from one who tried to push through them.
Red Flags That Turn Maintenance Into an Emergency
Some of what you see on a maintenance inspection is normal wear that can wait for a scheduled visit. Some of it means the door needs to stop being used until a technician looks at it. Here are the red flags that meet the second category:
- Frayed cables. Any broken strand on a cable means the door is on borrowed time. Stop using it and call for emergency garage door repair.
- Rust on spring coils. Surface rust is cosmetic; pitting rust that goes deep into the coil is a sign the spring is about to fail. A technician should measure the spring and decide if it needs replacement.
- Uneven gap at the floor. A door that leaves a triangle of daylight on one side is misaligned, and misalignment is often the first sign of a sagging spring or a shifted track.
- Door reverses on its own or won’t reverse on command. A failed safety reverse is a code violation and a genuine hazard. Do not use the door until it’s corrected.
- Loud bang from the garage. A snapped spring announces itself. The door may not move again until it’s replaced.
- Opener strains or cycles without moving the door. This can be a stripped gear, a dead capacitor, or a stripped drive sprocket. Garage door opener repair is a different job with its own diagnostics.
- Door comes off one side of the track. Stop using it immediately. Do not attempt to wrestle it back into place.
Any of these is a call for a same-day visit at minimum, and several warrant closing the door and leaving it alone until a technician arrives.
How Often to Run the Full Checklist
The pace that works depends on how hard the door is working. A single-car door on a two-car household in Hyde Park that opens twice a day needs one rhythm; a door that opens six times a day for a family of five needs another. Here’s the schedule we recommend:
- Monthly: Visual pass, photo-eye wipe, safety reverse test, listen for new noises.
- Every three months: Full lubrication cycle (rollers, hinges, spring bar, bearing plates). Balance test.
- Every six months: Track cleaning, weather seal inspection, bolt tightening pass, closer look at the spring coil for rust.
- Annually (or after any big storm): Professional inspection. A trained technician can measure spring tension, check cable wear at the drum, and verify the opener’s force and travel settings are correct.
Add an off-schedule check after the seasonal triggers listed earlier. And if the door is old, or you don’t know its service history, a technician inspection once a year is the single best investment in longevity you can make. A well-maintained door routinely runs well past its manufacturer’s cycle rating; a neglected one can fail inside a decade.
Common Mistakes to Avoid
- Greasing the tracks. Tracks should be clean and dry. Grease on a track gathers grit and turns your rollers into grinding stones. This is the number one mistake we see in Hyde Park.
- Using WD-40 as a general lubricant. It’s a solvent, not a load-bearing lubricant. It strips factory grease and leaves almost nothing behind.
- Tightening spring bolts to “help” the door. The bolts on the spring assembly are set at the factory for the door’s weight. Do not touch them.
- Adjusting the opener limits without checking the balance first. A door that needs a limit adjustment is usually a door that’s out of balance. Fix the balance and the limits fall back in line.
- Ignoring a small gap at the floor in early winter. Small gaps in November become big gaps in January when the freeze-thaw pulls at the bottom seal. Check early.
- Pulling the emergency release without reconnecting it correctly. A trolley that isn’t re-engaged will let the opener cycle while the door stays put, and the opener will burn out within days.
- Operating a door with a visibly frayed cable “just this once.” Cables don’t fail gracefully. Once they start fraying, the next use is the risk.
See the difference
 Before
 After
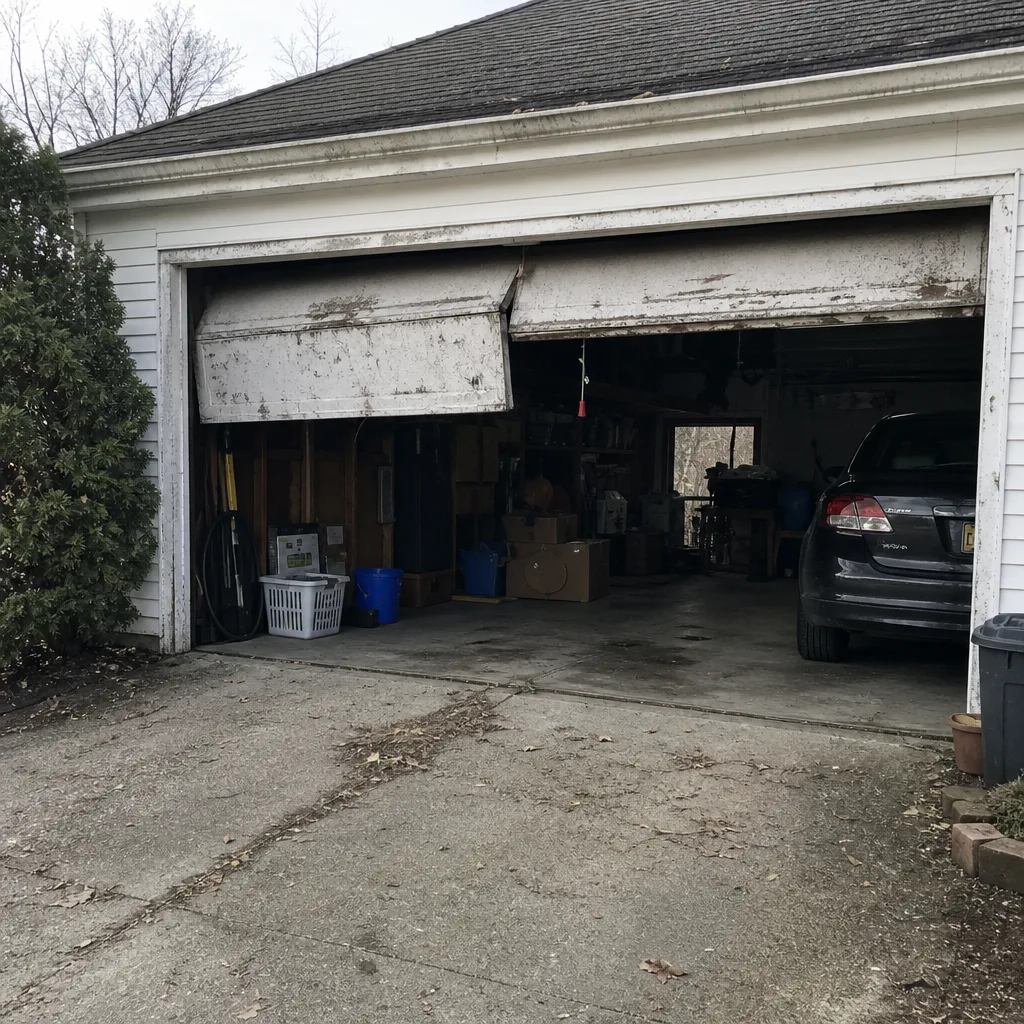 Before
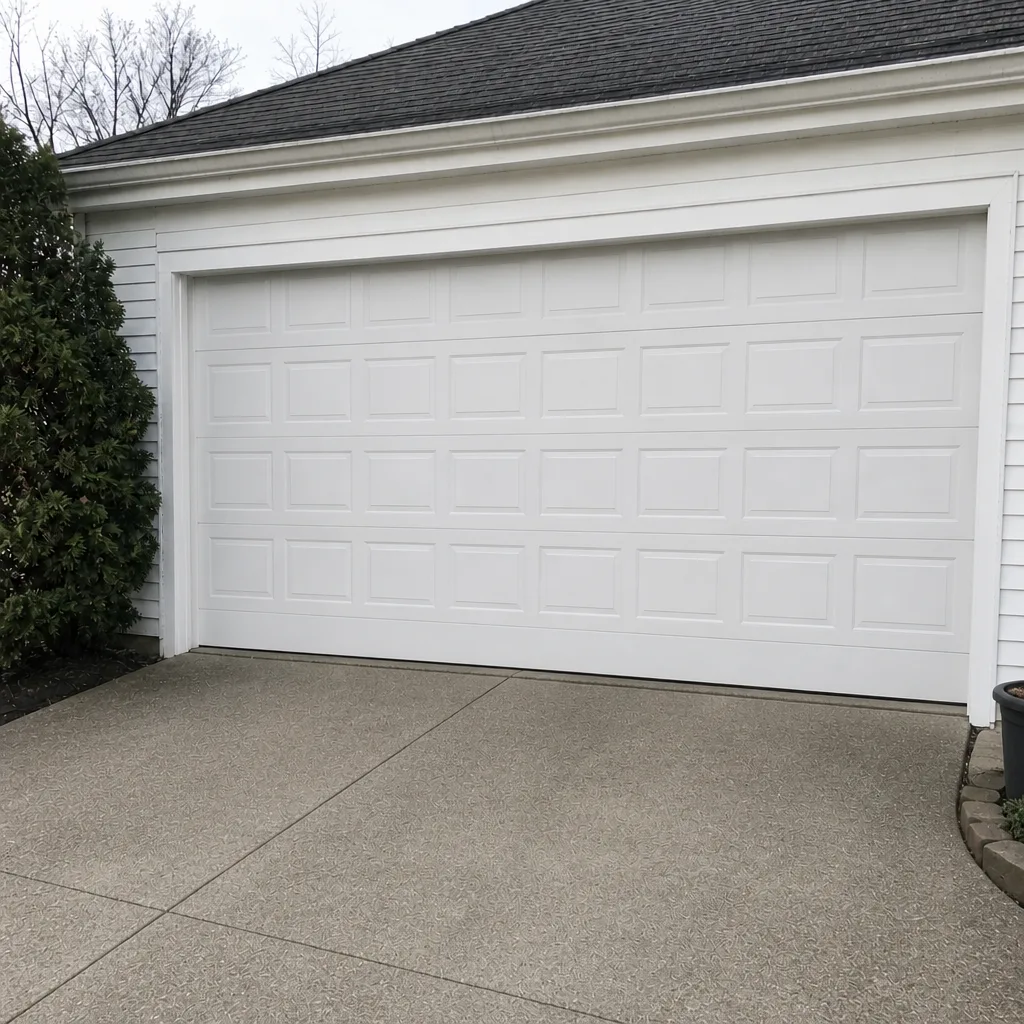 After
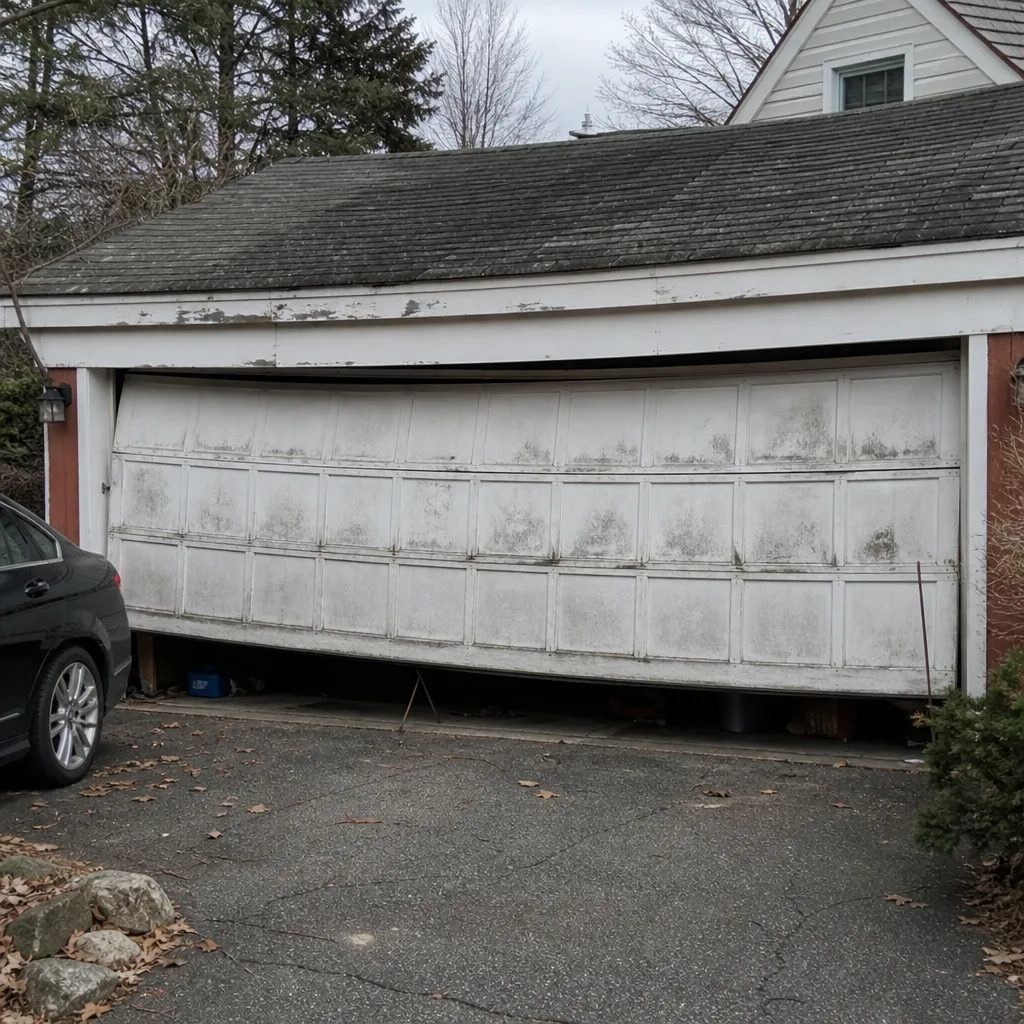 Before
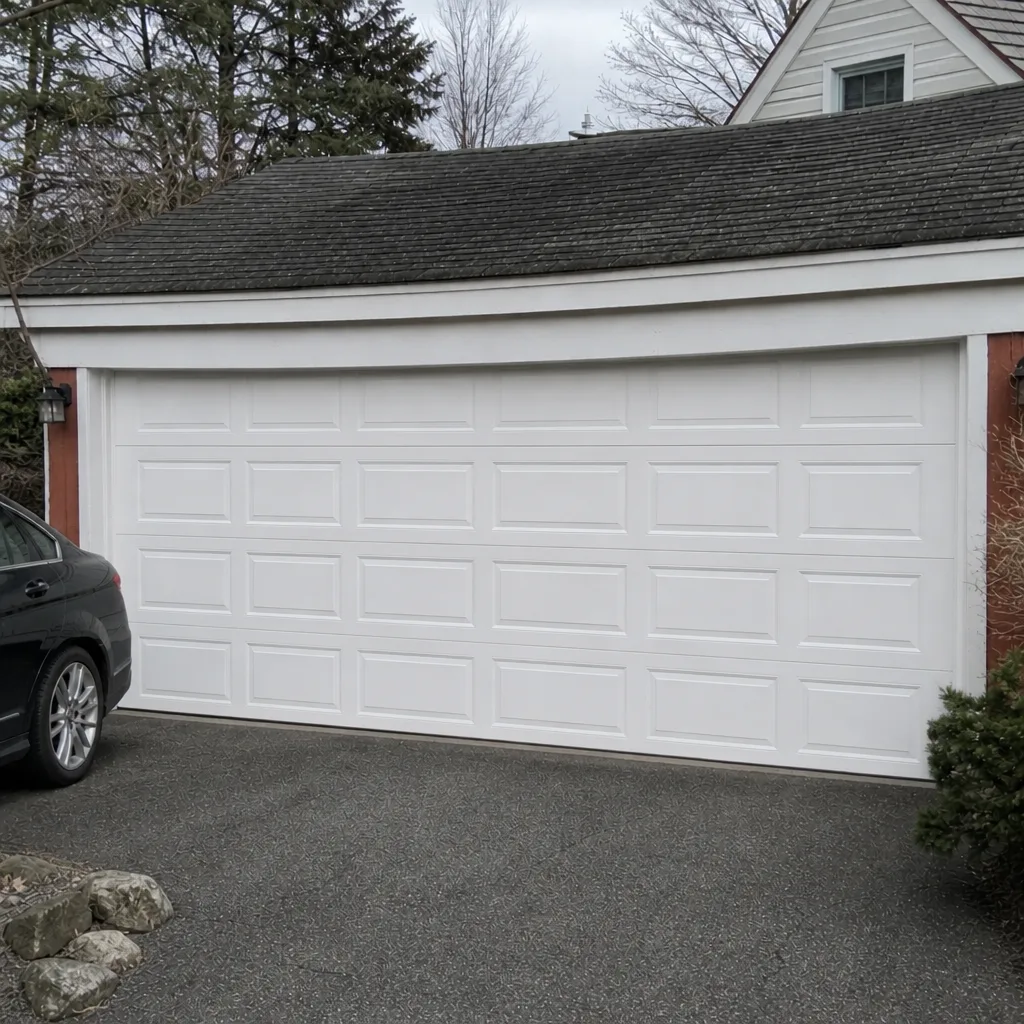 After
When to Call a Professional
Call a professional when the balance test shows the door drifting up or slamming down, when a cable shows any broken strand, when the spring coil is rusted through, or when the door won’t reverse on command. Any of those is beyond the scope of a homeowner checklist. The routine maintenance listed above is yours to own; the high-tension tier is not. If you’re moving into a Hyde Park home and don’t know the door’s service history, a professional inspection is worth having before the first winter. Hyde Park Garage Door Repair Pros offers free estimates in Hyde Park. Call (877) 716-7297, and if the door is failing badly, you can start with the specialist team at Hyde Park Garage Door Repair Pros. A scheduled garage door installation is also a good time to ask about the maintenance cadence for the new door.
Frequently Asked Questions
A proper garage door maintenance checklist has two layers: what you can safely inspect and what requires a technician. The homeowner layer should cover visual inspection, lubrication of rollers and hinges (not tracks), the balance test, the safety reverse test, photo-eye cleaning, weather seal inspection, and bolt tightening on exposed brackets. The professional layer covers spring tension, cable inspection, drum alignment, and opener limit and force adjustments. Anything involving springs or cables should be left to a trained technician.
Every three months for most Hyde Park homes, and more often if the door runs many cycles a day. Use white lithium grease on the rollers’ stems and hinges, a spring-specific spray on the torsion coil, and a light machine oil on the bearing plates where the torsion bar passes through. Do not lubricate the tracks. And skip the WD-40 for anything load-bearing; it’s the wrong product for the job.
If the door slams down when you release it at mid-height, the springs have lost tension and are no longer counterbalancing the door’s weight. If it drifts upward, the springs are over-tensioned. Both mean the spring system needs a technician. The door has a spring problem, not a door problem, and adjusting it without the right tools and technique is dangerous. Call (877) 716-7297 for a free estimate.
WD-40 is a solvent and light oil, not a lubricant rated for load-bearing metal. On garage door parts it strips factory grease, evaporates quickly, and leaves rollers, hinges, and stems running drier than before. Use white lithium grease on hinges and roller stems, a spring-specific spray on the coil, and leave WD-40 on the shelf.
You can fix the cosmetic symptoms – a loose hinge screw, a dirty photo-eye, a squeaky roller – yourself. You cannot safely fix the underlying cause of a sagging door, which is almost always a spring tension issue or a shifted track. Spring work is high-tension work. For a Hyde Park door that sags, closes unevenly, or feels heavy, call a technician before the door does more damage.
The first signs are almost always sound and gap: a new rhythmic clunk or squeal during travel, and a visible triangle of daylight under one side of the door. After those, watch for a door that reverses on its own, slows noticeably near the top, or stops responding to the opener. Any of those is a prompt for a technician visit. Call (877) 716-7297 if you see them before the first freeze.
The Bottom Line
A garage door checklist is useful only when it respects what each part actually does. Lubricate the moving metal contacts and the spring coil, keep the tracks dry, run the balance test every three months, and watch the weather seal through Hyde Park’s freeze-thaw season. The routines in this guide will keep most doors running for years. The high-tension parts – springs, cables, the bottom bracket – belong to a technician. Call (877) 716-7297 for a free estimate on a maintenance visit, a spring replacement, or an opener repair, and we’ll get you a written price before any work starts. Get the part. Get it done.
Written by the team at Hyde Park Garage Door Repair Pros.